What to Check Before You Collect a Rental Bike
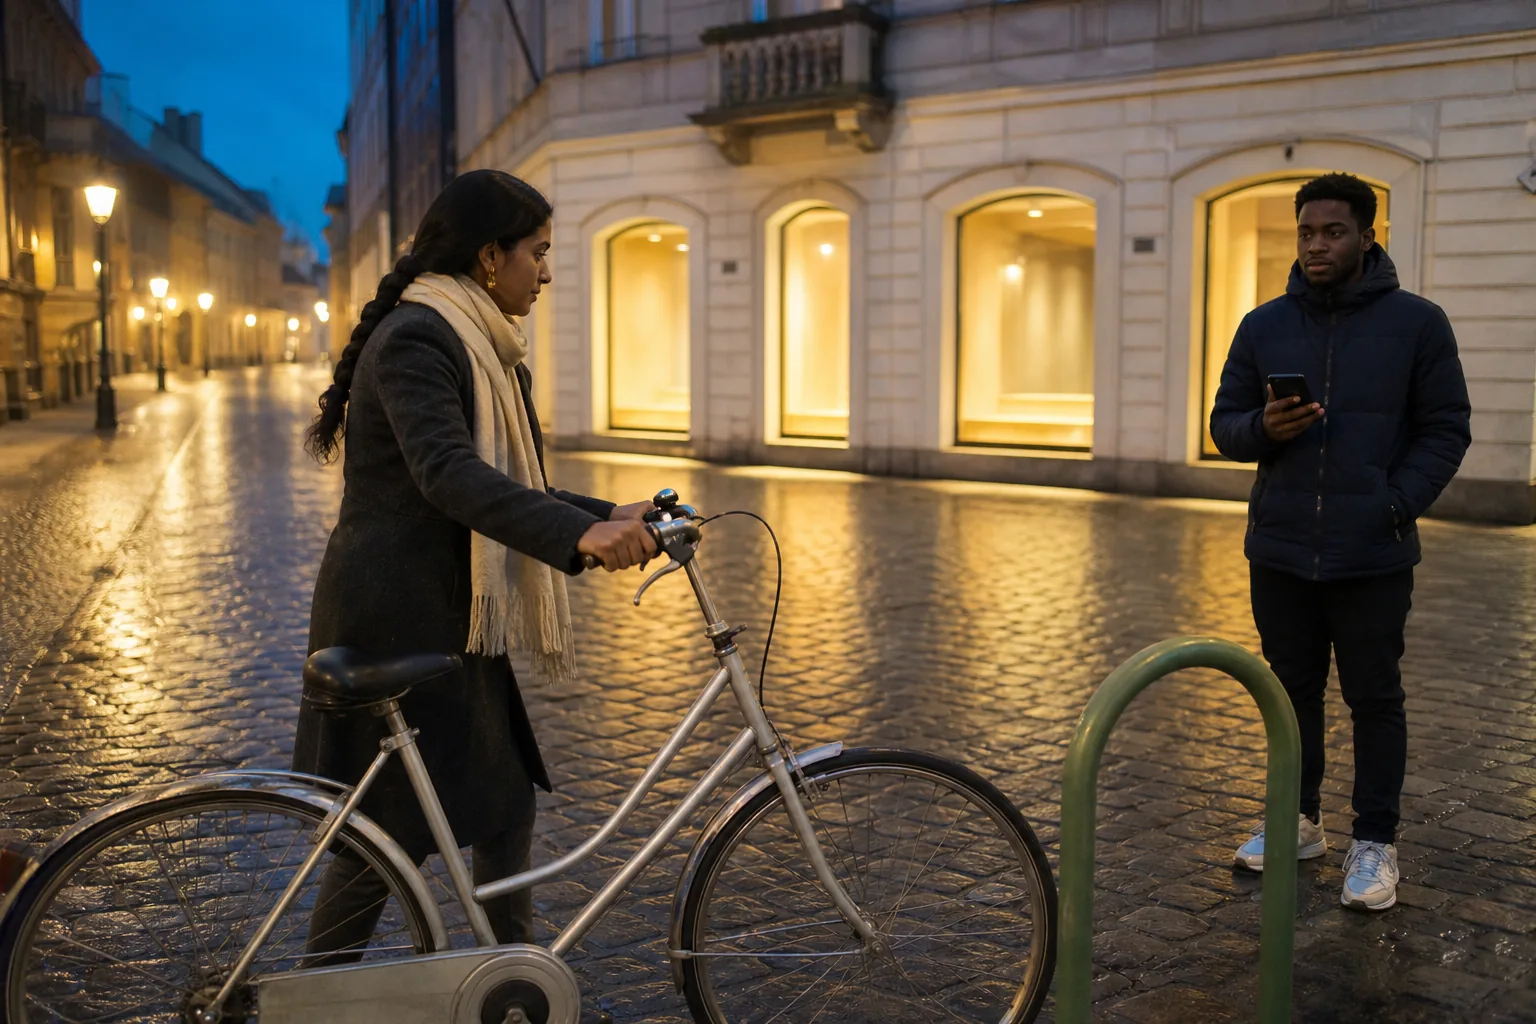
The desk hands you a machine. The pavement decides whether it is ready. Do these checks while both feet are still on the ground — before the first metre, before the app or the clerk assumes you are done.
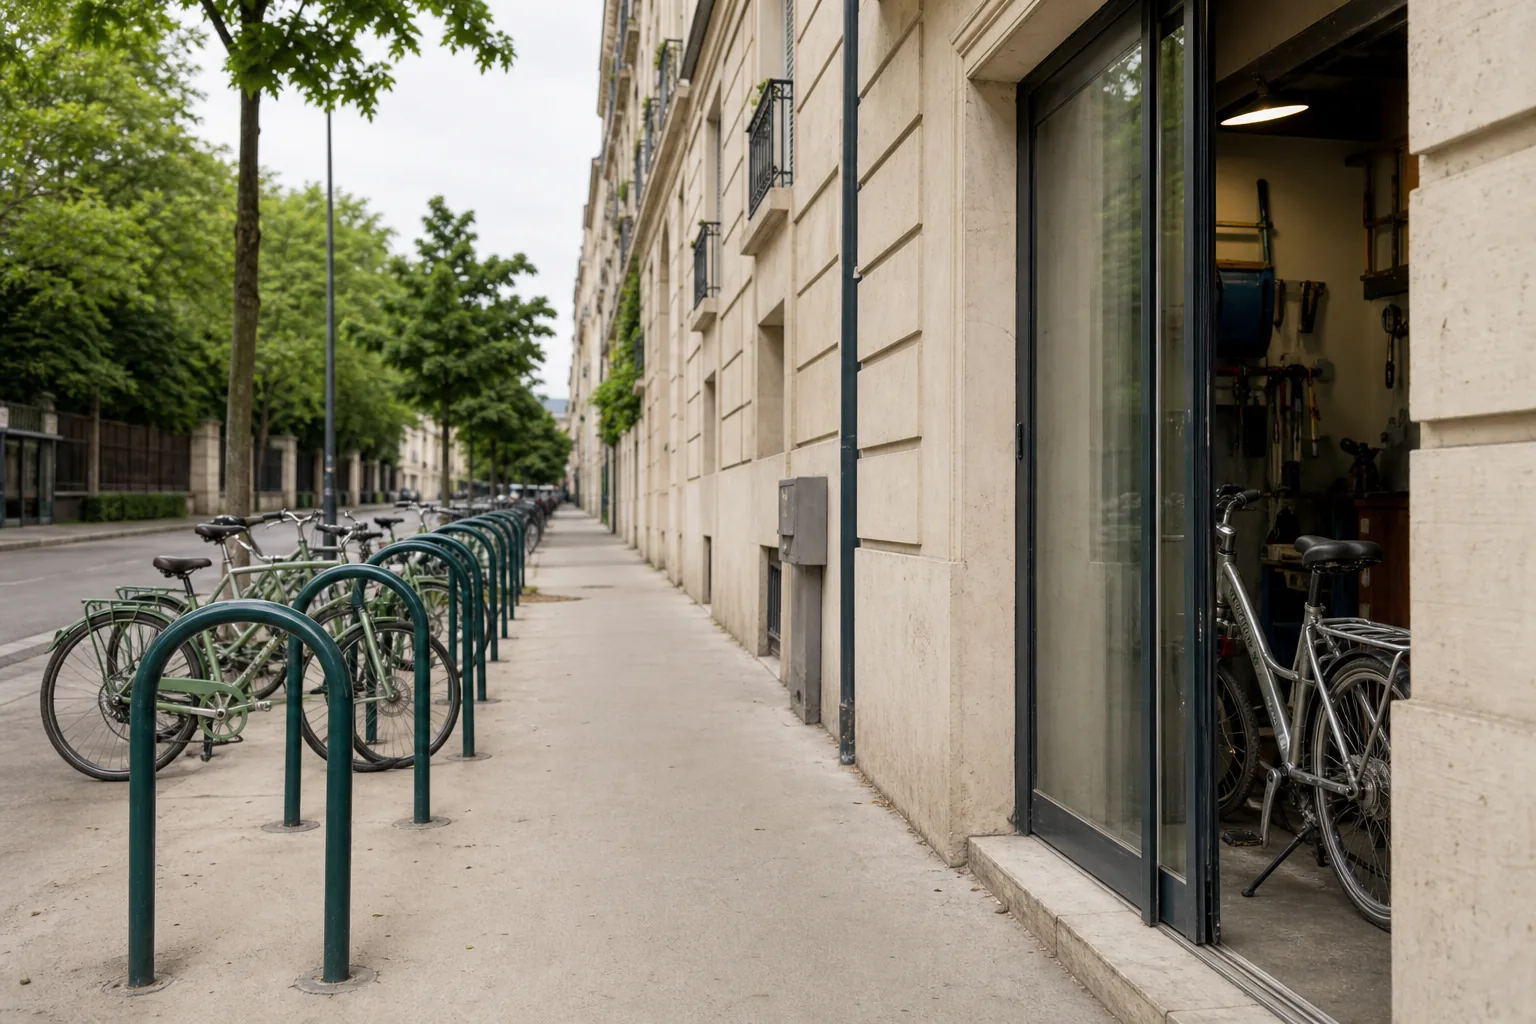
Why the stand is the right place
Soft rental brakes feel different once you are already in the lane. A saddle that is too low becomes a wobble at the first turn. A lock that will not close becomes a problem only when you stop for coffee. None of those issues belong to the middle of a merge.
Clerks and dock apps move people quickly. That is fair — there is often a queue. Your job is not to slow the line with theatre. It is to run a short, repeatable pass so you leave with a bicycle you can stop, signal, and lock.
If you discover a problem after the wheel is turning, you are already negotiating with traffic instead of with the desk.
The six checks, in order
Use the same order at a timed dock and at a day counter. Hardware changes. The sequence stays useful.
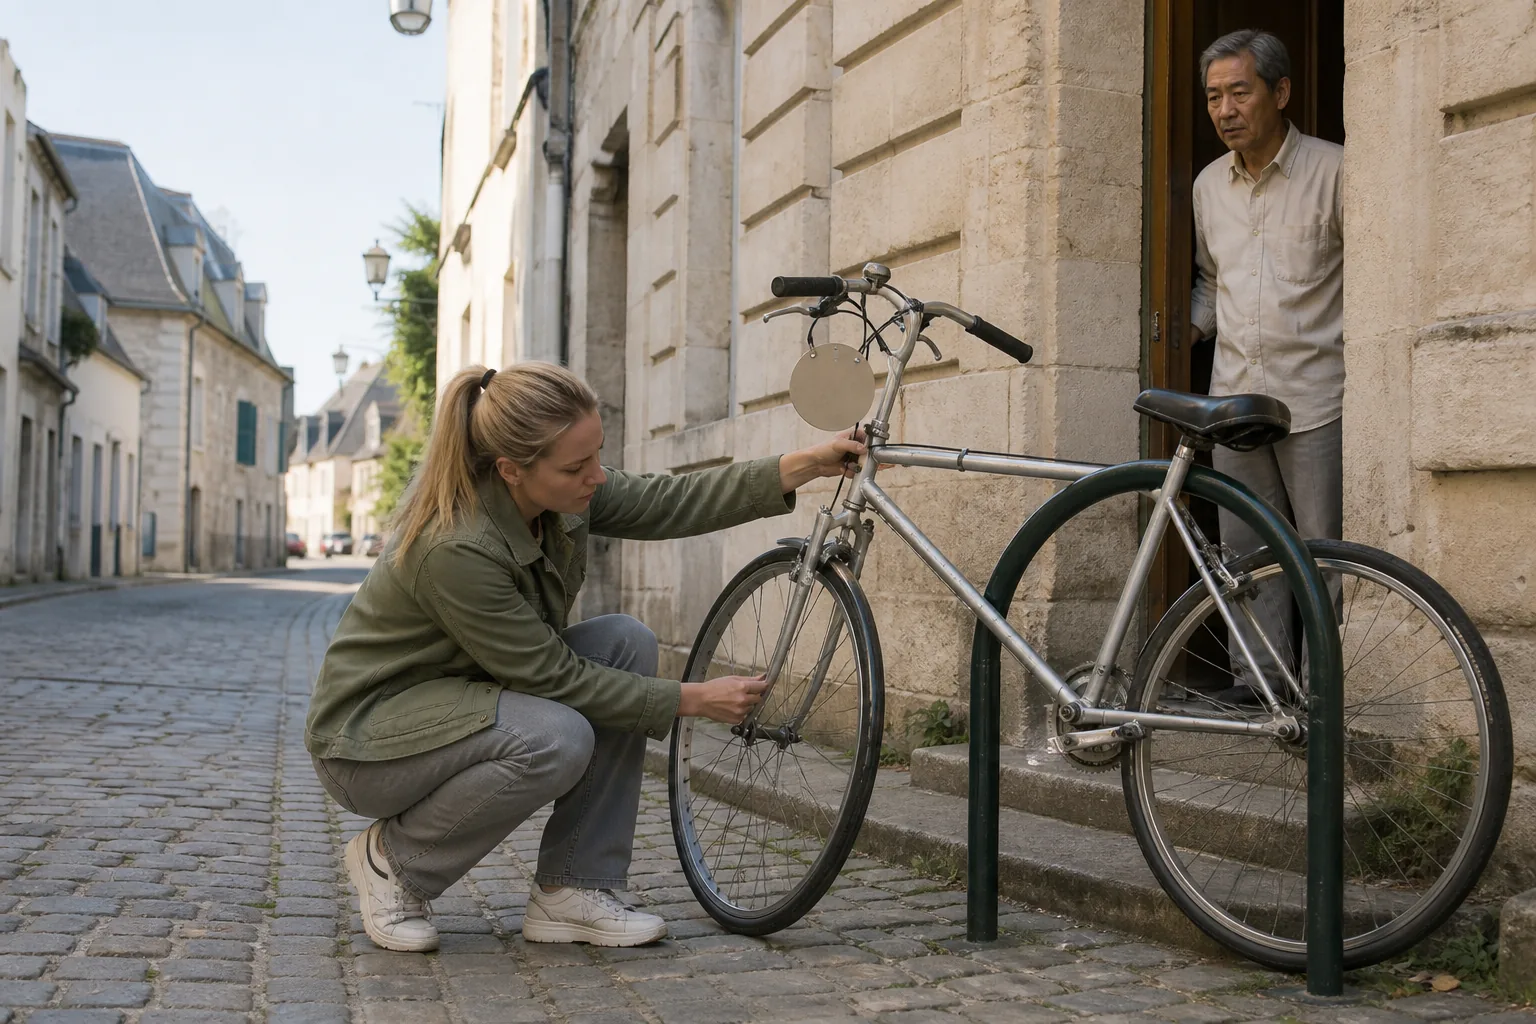
- Saddle height. Stand over the frame, then sit and place the ball of one foot on a pedal at the bottom of the stroke. Your knee should stay soft, not locked. Ask for an Allen key or a quick-release if the post will not move.
- Brake bite. Squeeze each lever hard enough to feel the pads catch. Roll a metre if the stand allows it. Soft levers are common on rentals; know that before the first downhill stretch.
- Tyre firmness. Press with your thumb near the ground. A tyre that flattens easily belongs back at the desk, not on a cobbled side street twenty minutes later.
- Bell. Ring it once. If there is no bell, ask whether one is available or plan to use voice and early slowing in shared streets.
- Lights. Switch front and rear on, even in daylight. Dim lights fail at dusk, when returns often stack up.
- Lock. Open and close it on the frame and a wheel, not on the front wheel alone. Confirm the key or code works twice.
Small extras that prevent later friction
After the six checks, take thirty seconds for paperwork and orientation. These are not about fitness or heroics. They are about leaving the stand without becoming the next delay.
- Match the numbered tag or unlock status to the bicycle in your hands.
- Ask where a short lock-up is accepted near the desk, and where it is not.
- Confirm the return window in plain words: docked, unlocked, or handed to staff.
- Look both ways before the first push-off; the first twenty metres decide a lot of awkward corrections.
What to do when something fails
Ask for another machine while you are still at the stand. Do not accept a shrug and a promise that the brake “feels fine once you are moving.” If the desk cannot help, walk away from that rental. A poor bicycle is a poor briefing outcome, not a challenge to overcome on a strange street.
Keep the tone calm and specific: name the lever, the tyre, or the lock. Specific requests are easier for staff to answer than a vague claim that the bike feels wrong.
If the stand is a timed dock and the app will not release a second machine, note the bicycle number and ask what the operator wants you to do next. Do not ride a failed unlock into traffic hoping the screen will catch up. Stay on the pavement until the status and the hardware agree.
Checks that belong to you, not to the queue
Travellers sometimes skip the pass because someone is waiting. That pressure is real. The fix is speed, not omission. A practised sequence takes less time than explaining a soft brake two blocks away, and it keeps the next person from inheriting your unfinished problem.
If you are travelling with someone else, one person can watch the street while the other runs the six checks. Split the work; do not skip it because the group wants to move.
After the checks: the first minute
Once the bicycle passes, leave the stand with the same care you used on the checklist. Look back, take the line local riders use, and ride twenty metres before you touch a phone. The checks buy you a workable machine; the first minute buys you a readable start.
This checklist describes patterns we use in briefings. It does not replace the operator’s posted rules or advice from specialists about whether a ride suits your body. Confirm conditions on the day, and treat the desk as the authority for that machine.